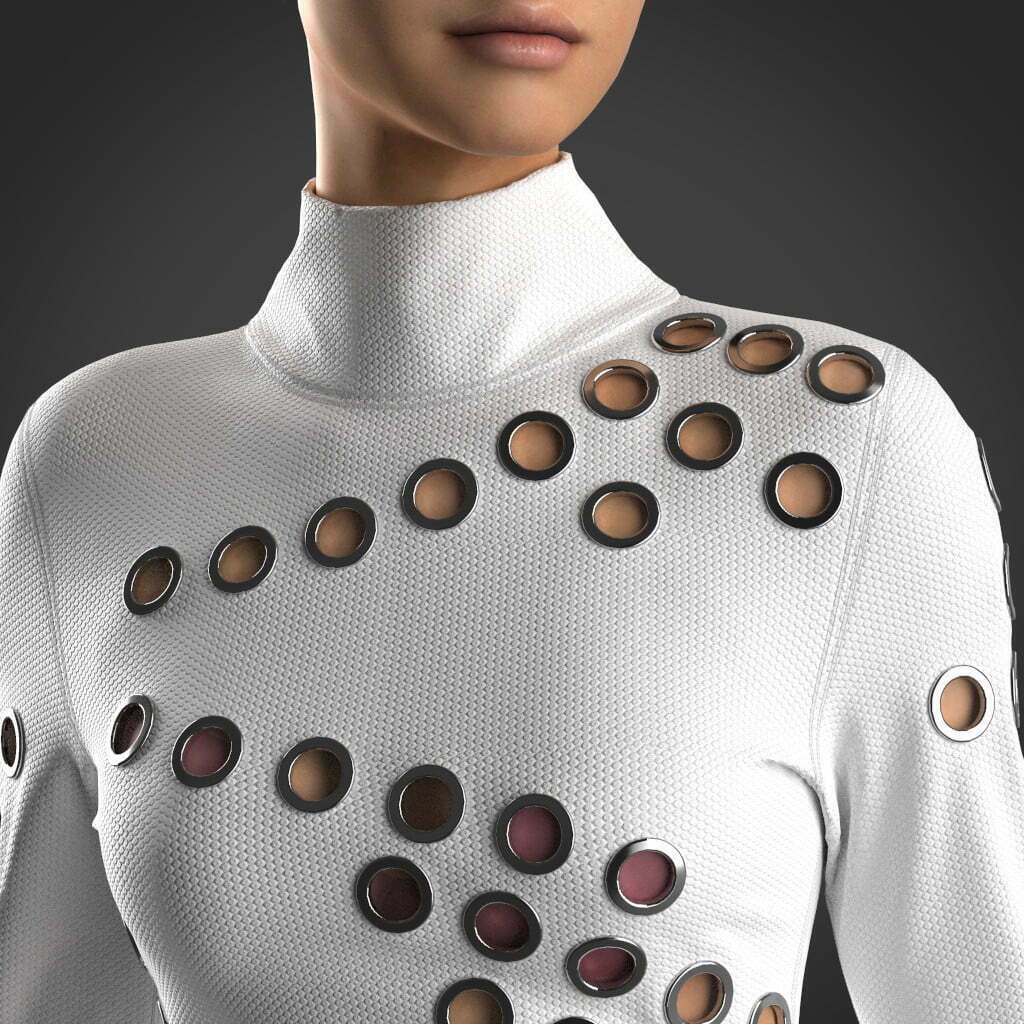
Creating the discs for the hole dress – Free download

To create the discs in the disc dress is a simple process.
First create a circle in the fabric the size you want the disc.
Then select the circle that you have created and right click and select “Offset as internal line” and enter the thickness of the disc you want.
Select both outer and inner circles and select “Cut and Sew”, this will then produce two separate elements, the outer disc and the inner disc.
You should move these both to the side for convenience. Once you have those two you should create two new materials.
- Material 1 for the disc, this should be set to the hardest material, something like Trim_Fusible_Rigid (I also changed this to make them more stiff by setting the high numbers to 99). The material should be set to Type Metal and the colour of your choice.
- Material 2 for the hole, this should also be set to the same hardest material as material 1, but on this material you should change the opacity to 0.
Select the disc fabric piece and change the Curved Side Geometry to something like 50% for a better look.
You should then have a disc created in your outfit.
TIP: to clean up the edges around the disc, if you select all the sewing for the disc and inner clear circle and then set the seamline intensity to 0 it will made it a lot crispier edge.
You can download my disc dress from CLO-SET
I would love to see how you use this, tag me on Instagram with your creation.

